Assembly
Assembly
So you've chosen all the parts and double checked the inter compatibility. Now how to put all this together? Follow these steps:
Step 1:
Take everything out of their boxes. Put the motherboard on top of its box or on any anti static material.
Step 2: Installing the CPU
Open the CPU latch and match the small triangle present in the corner of your CPU to the triangle in your motherboard. Gently drop the CPU on the CPU socket after aligning. Remember to not apply any pressure on the CPU pins. Now close the latch gently and don't be afraid to apply little pressure.

Step 3: Installing Memory
Push down the latches at either ends of the ram slots on your motherboard. Then line up the notch on the bottom of ram with the notch in the slot. After that, you can install the ram by carefully pushing down both sides of the memory into the slot. You should hear a clicking sound as the memory secures into place and the latches click back up. Make sure you use the farthest and second closest slot from the CPU if you’re only using two memory sticks.

Step 4: Mounting CPU cooler
First step in this is to check if the CPU cooler has pre-applied thermal paste or not. Usually all the new coolers have it. If not apply a pea size amount of thermal paste of the CPU. Depending of your cooler you may or may not have to attach a black plate on the back side of the motherboard. For air coolers, you’ll want to install most models with the fans unattached. Carefully orient the heatsink onto the pins or threads of the mounting plate and secure in place with any provided thumb screws or regular screws. After that it’s simply a case of reattaching the fan to the tower, and plugging the 4-pin PWM fan header into the CPU Fan slot on the motherboard. Liquid-coolers follow basically the same process, but require more upfront work. You'll probably have to attach fans onto the radiator and installing it into your PC case in advance. Depending on which liquid-cooler you’re using, you may also need to plug in a second four-pin cable into a dedicated AIO cooler or optional cooler header on your motherboard.
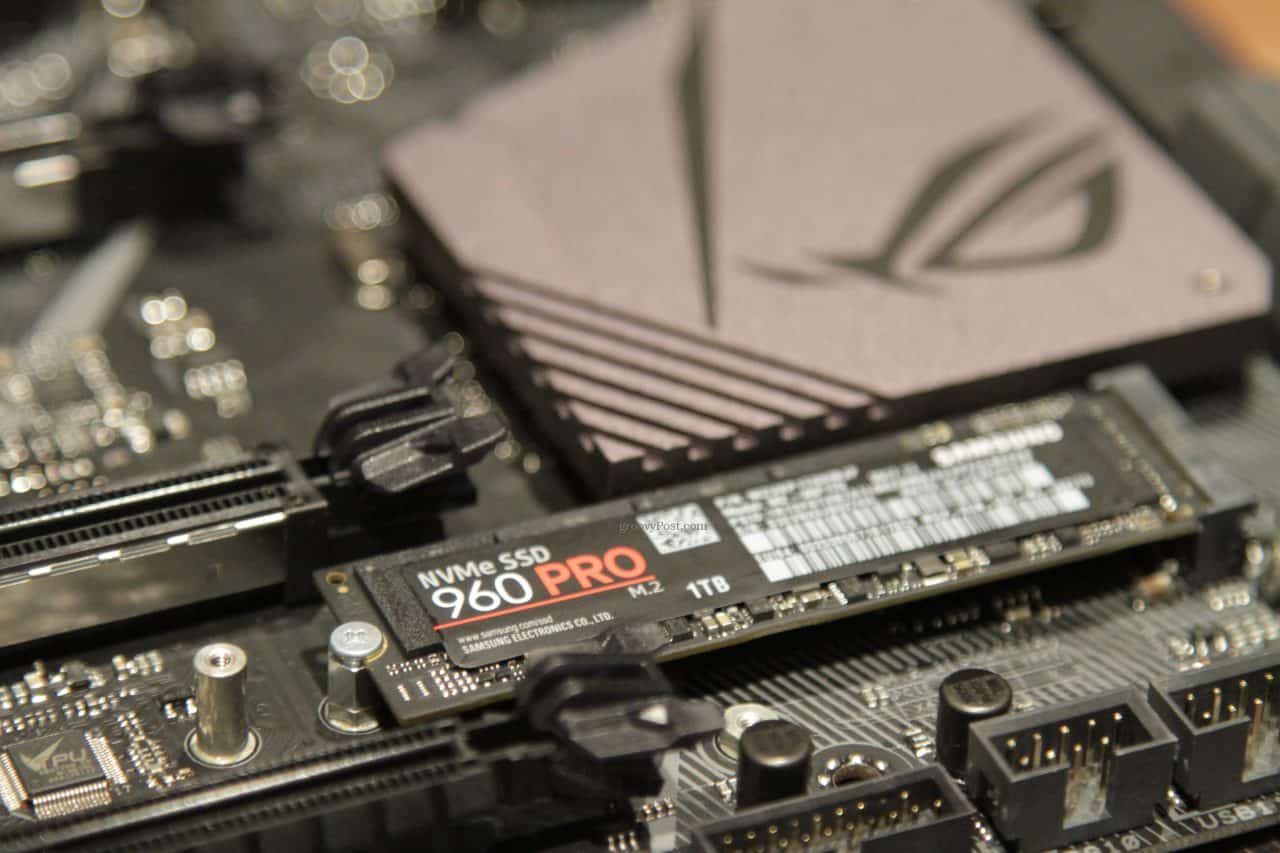
Step 5: Installing the M.2 SSD (Optional)
If you are not using a M.2 SSD then skip this step. Locate the M.2 slot of your motherboard, preferably the gen 4 slot. Unscrew the slot and install the relevant standoff based on your SSD size. Slide the SSD at angle. Make sure the notch lines up and gently press down the SSD. While keeping pressure on it, install the mounting screw. Install the slot again and remember to peel of the thermal pad covering before installing.
Step 6: Installing the motherboard
Now open the side panels of your case and put it aside in a safe place. Lay the case flat on its side and screw in your motherboard standoffs. Don't screw in extra standoffs or remove them if already screwed in. They can damage your motherboard. Also install the i/o
shield of your motherboard. Align the holes of your motherboard with the standoffs and screw it in. Remember to not over tighten the screws as they can crack the motherboard.
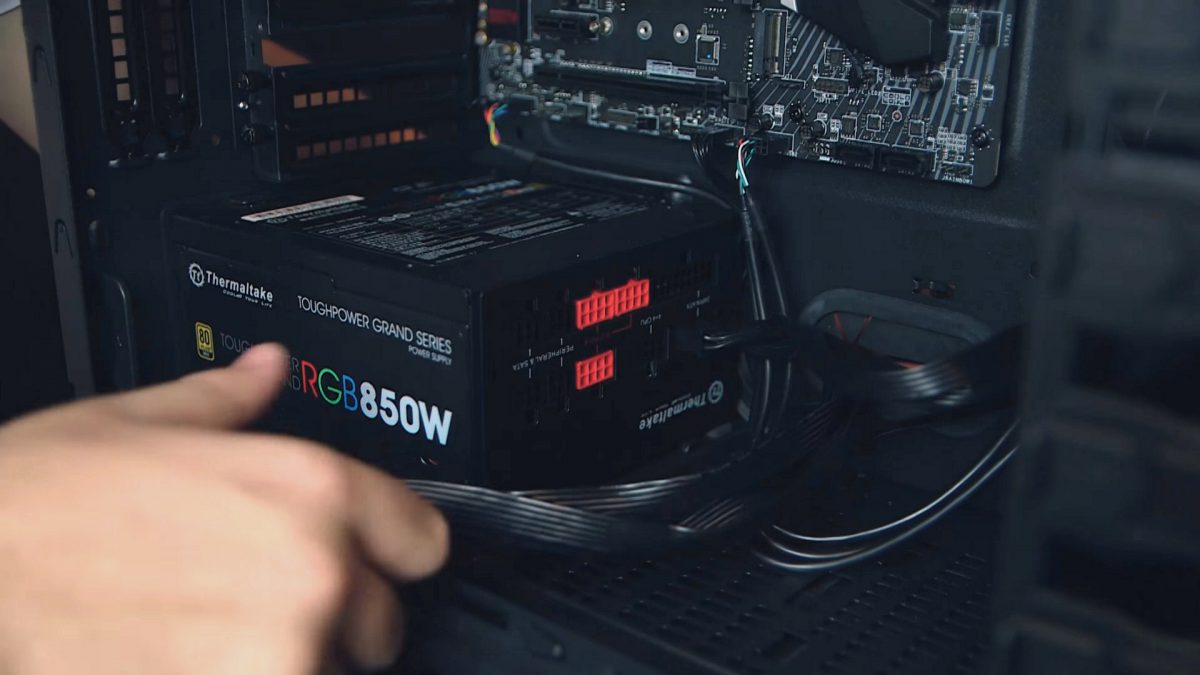
Step 7: Installing Storage and Power Supply
Screw in your SSD and HDD storage in the drive bays given in your case. Now install tour PSU in your case. Usually it is at the bottom where it can pull air from the bottom of the case. Firmly screw it in and attach all the cable which will be required.

Step 8: Installing the Graphics Card
 Step 9: Cables
Now its time to connect all the sata, 6 pin, 24 pin and other miscellaneous cables to the motherboard and drives. Also remember to connect the front USB 3 and Power cables to your motherboard. After connecting everything, it time for cable management. Tie all the cables with zip ties or Velcro to the case.
That's it now connect all the peripherals and start the PC. You should see lights starting up. Spam delete key until bios starts. Verify if all the components are posting. Now you are ready to install OS. Just install the OS setup on a flash drive and insert in the PC.

Comments
Post a Comment